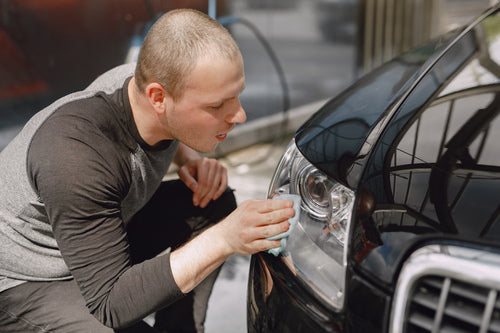
Los Angeles is full of sunshine, traffic, and—unfortunately—pollution. That smog and brake dust don’t just float away; they land right on your car’s paint, leaving behind stubborn iron particles that regular soap won’t touch. That’s where iron removers come in! If you want a truly spotless ride, you need to know how to use these magic potions properly.
What Is an Iron Remover?
Iron removers are chemical solutions designed to dissolve ferrous (iron-based) contaminants that bond to your vehicle’s paint and wheels. These nasty little particles come from brake dust, construction debris, and airborne pollution—basically, everything LA throws at your car.
Unlike traditional washing methods, which only remove surface dirt, iron removers go deeper, breaking down bonded contaminants to prevent long-term damage like rust spots and clear coat failure.
How to Use Iron Removers for a Flawless Finish
1. Gather Your Supplies
Before you start, make sure you have:
A high-quality iron remover (pH balanced for safety)
A microfiber towel or soft brush
A pressure washer or hose
Gloves and a mask (because breathing in chemicals is not fun)
2. Wash Your Car First
Iron removers work best on a clean surface, so give your car a proper wash before application. Use a good pH-neutral car shampoo and rinse thoroughly.
3. Spray the Iron Remover
Shake the bottle well and spray the iron remover generously on your wheels and paint. Focus on areas prone to iron buildup, like wheel wells, lower panels, and the hood.
4. Watch the Color Change
The real magic happens when the solution starts reacting with the iron particles. Most iron removers turn purple or red as they dissolve contaminants. This means it’s working! Let it dwell for about 3-5 minutes.
5. Agitate If Necessary
For stubborn spots, use a soft brush or microfiber towel to gently work the product into the surface. Don’t scrub too hard—let the chemicals do their job.
6. Rinse Thoroughly
Use a pressure washer or hose to rinse off the iron remover completely. Leaving residue behind could damage your paint over time.
7. Apply a Protective Layer
After removing iron particles, your car’s surface is vulnerable. Apply a quality wax, sealant, or ceramic coating to keep your ride protected from future contamination.
How Often Should You Use an Iron Remover?
In Los Angeles, where pollution and brake dust are relentless, use an iron remover every 4-6 weeks to maintain a pristine finish. If you park near construction sites or drive through traffic-heavy areas daily, you might need to do it more often.
Conclusion
Iron removers are a game-changer for anyone serious about keeping their car’s paint in top shape. With the right product and proper technique, you can easily dissolve stubborn contaminants and achieve a cleaner, shinier, and longer-lasting finish. Want to keep your car looking showroom-fresh in LA? Check out our premium car care products at WASH&WHIPS today!


