Is your car's paint looking dull or riddled with scratches? Don’t panic—it happens to the best of us, especially with Los Angeles' dusty streets and intense sun exposure. The solution? Paint correction and polishing. This guide breaks down everything you need to know to restore your car's showroom shine.
What Is Paint Correction?
Paint correction is the process of removing imperfections from your car's paint, such as:
-
Swirl marks
-
Minor scratches
-
Oxidation
-
Water spots
By leveling the clear coat, paint correction can transform your car’s finish from tired and dull to smooth and glossy.
Do You Really Need Paint Correction?
If your car's paint looks dull or has visible imperfections, paint correction is worth considering. It's ideal if you’re prepping for a car show, selling your vehicle, or just want to keep it looking amazing while cruising through Los Angeles.
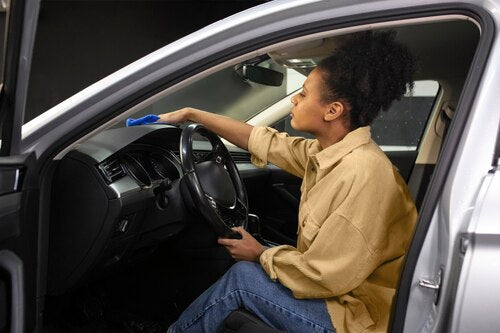
Essential Tools for Paint Correction and Polishing
Before you get started, you'll need the right tools and products:
-
Dual-Action Polisher: Safer and more user-friendly than rotary polishers.
-
Polishing Pads: Foam pads are ideal for applying compound and polish.
-
Compound and Polish: Compound removes deep imperfections, while polish refines the surface for a smooth finish.
-
Microfiber Towels: Perfect for wiping off residue.
Step-by-Step Guide to Paint Correction and Polishing
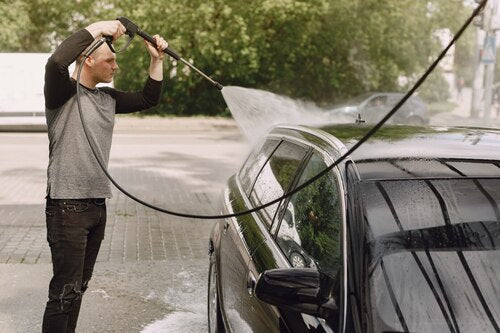
Step 1: Wash and Decontaminate
Start with a thorough wash to remove dirt and grime. Then use a clay bar to remove embedded contaminants from the surface.
Step 2: Tape Off Sensitive Areas
Use painter’s tape to cover areas like rubber trims and plastic moldings. This prevents accidental damage during polishing.
Step 3: Test Spot First
Before you go all-in, test your compound and pad combination on a small, inconspicuous area. This helps you find the right level of aggressiveness.
Step 4: Start Polishing
Apply a small amount of compound to your polishing pad. Work in 2x2 foot sections using overlapping passes. Move the polisher slowly and evenly for the best results.
Step 5: Wipe and Inspect
After each section, wipe the area with a clean microfiber towel. Inspect the results under proper lighting. Repeat if necessary.
Step 6: Finish with a Polish
Once the imperfections are corrected, switch to a finer polish to enhance the gloss. Follow the same process as with the compound.
Step 7: Apply a Protective Coating
Seal in your hard work with a wax, sealant, or ceramic coating. This protects the paint and keeps it looking fresh.
Common Mistakes to Avoid
-
Skipping the Wash: Dirt on the surface can cause scratches during polishing.
-
Overusing Compound: Too much compound can wear down the clear coat.
-
Rushing the Process: Take your time for the best results.
Conclusion
Paint correction and polishing may sound intimidating, but with the right tools and technique, you can restore your car's shine like a pro. Ready to skip the DIY and let the experts handle it? WASH&WHIPS has you covered with premium detailing services in Los Angeles. Contact us today to make your ride look flawless!