

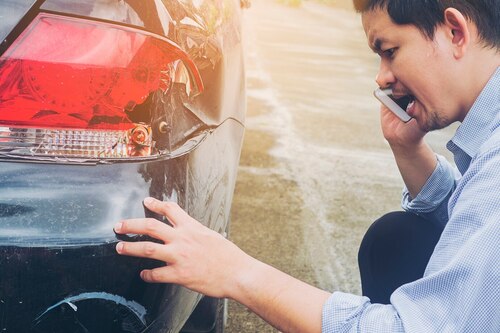

Los Angeles drivers know that the city's bustling streets and tight parking spots can lead to unsightly scuffs and scratches on their car's plastic trim. Whether it's from a rogue shopping cart or an overzealous passenger, these blemishes can detract from your vehicle's appearance. But fear not! With the right techniques and a bit of elbow grease, you can restore your car's trim to its former glory.
Understanding Plastic Trim Damage
Plastic trim, both interior and exterior, is susceptible to:
-
Scuffs: Surface-level marks caused by friction.
-
Scratches: Deeper grooves that penetrate the plastic surface.
-
Fading: UV exposure leading to discoloration.
Addressing these issues promptly can prevent further deterioration and maintain your car's aesthetic appeal.
Tools and Materials You'll Need
Before diving into the restoration process, gather the following items:
-
Microfiber towels
-
Plastic trim cleaner
-
Heat gun or hairdryer
-
Plastic trim restorer or dye
-
Fine-grit sandpaper (optional)
-
Plastic polish
-
Protective glove
Step-by-Step Guide to Removing Scuffs and Scratches
1. Clean the Affected Area
Start by thoroughly cleaning the plastic trim with a dedicated cleaner to remove dirt and grime. This ensures that you’re working on a clean surface, allowing for better results.
2. Assess the Damage
Determine the depth of the scuff or scratch. Light scuffs may only require polishing, while deeper scratches might need more intensive treatment.
3. Apply Heat (for Light Scratches)
Using a heat gun or hairdryer, gently warm the scratched area. The heat causes the plastic to expand slightly, which can reduce the appearance of minor scratches. Be cautious not to overheat, as excessive heat can warp the plastic.
4. Polish the Surface
For minor scuffs, apply a plastic polish using a microfiber towel. Rub in circular motions until the scuff diminishes. This method is effective for superficial marks.
5. Sand and Refinish (for Deeper Scratches)
If the scratch is more pronounced:
-
Lightly sand the area with fine-grit sandpaper to smooth out the groove.
-
Clean the area again to remove sanding debris.
-
Apply a plastic trim restorer or dye that matches your trim's color.
-
Allow it to dry as per the product instructions.
6. Protect the Restored Area
Once the repair is complete, apply a UV-protectant product to shield the trim from future sun damage, especially crucial in sunny Los Angeles.
Tips for Maintaining Plastic Trim
-
Regular Cleaning: Keep your trim clean to prevent buildup that can cause scratches.
-
Avoid Harsh Chemicals: Use products specifically designed for automotive plastics.
-
Park in the Shade: Whenever possible, park away from direct sunlight to minimize UV damage.
Conclusion
Restoring your car's plastic trim doesn't have to be a daunting task. With the right tools and techniques, you can effectively remove scuffs and scratches, keeping your vehicle looking its best on the streets of Los Angeles.
At WASH&WHIPS, we're passionate about helping you maintain your car's pristine condition. Explore our range of premium car care products tailored for every detailing need. For personalized advice or product recommendations, don't hesitate to contact us.


