Driving in Los Angeles is great—until you look at your bumper and find it covered in bug guts and tar spots. These sticky residues don’t just look terrible; they can actually damage your car’s paint if left untreated. But with the right techniques and tools, you can keep your bumper spotless without risking scratches or paint damage. Here’s everything you need to know to remove bugs and tar like a pro, and keep your bumper looking fresh.
Why Bugs and Tar Are So Hard to Remove
Bugs and tar are notorious for clinging to your car’s front bumper. Bug splatters contain acids that can eat into your paint, while tar is highly adhesive and designed to withstand high temperatures, making it tough to break down. If left untreated, these residues can leave permanent marks. That’s why knowing the right techniques for removal is crucial.
Essential Tools for Bug and Tar Removal
To tackle stubborn bug and tar stains without harming your paint, gather these essential tools:
- Bug and Tar Remover: Look for a remover that’s safe for automotive paint. These products break down tough residues without the risk of scratching.
- Microfiber Towels: These are ideal for wiping away debris without leaving scratches.
- Soft-Bristle Brush: Perfect for working bug remover into tough spots.
- Bucket and Car Shampoo: For a thorough wash before and after treatment.
- Clay Bar (Optional): Great for removing embedded particles left behind after bug and tar removal.
Step-by-Step Guide to Removing Bugs and Tar
1. Pre-Wash the Bumper
- Tip: Before using any bug or tar remover, rinse the bumper and wash it with car shampoo. This initial step removes loose dirt, dust, and sand particles that could scratch your paint.
- Why: Pre-washing reduces the risk of rubbing abrasive debris into the surface when you’re working on stubborn spots.
2. Apply a Bug and Tar Remover
- Tip: Spray or apply the bug and tar remover directly onto the affected areas. Let it sit for a few minutes to soften the bug and tar residue.
- Why: Giving the product time to penetrate ensures it breaks down the toughest residues, making them easier to wipe away.
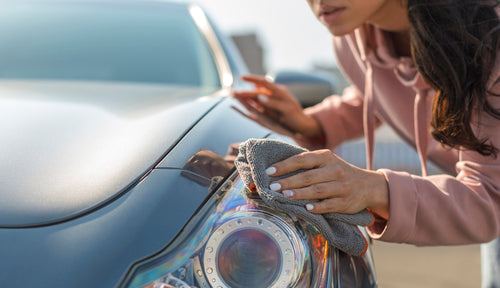
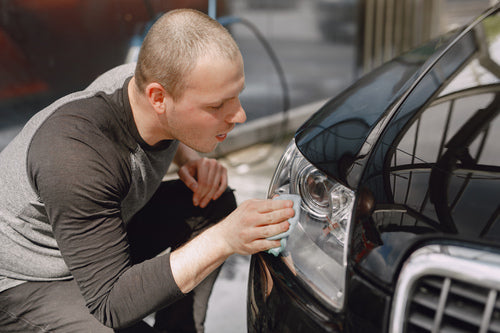
3. Use a Microfiber Towel to Wipe Away Residue
- Tip: After letting the remover sit, use a microfiber towel to gently wipe away the softened bug and tar spots. Wipe in a circular motion, applying light pressure to avoid damaging the paint.
- Why: Microfiber towels are gentle on the paint, reducing the risk of scratches. Circular motions help lift residue more effectively.
4. Use a Soft-Bristle Brush for Stubborn Spots
- Tip: If certain spots are particularly tough, dip a soft-bristle brush in the bug and tar remover and gently scrub the area.
- Why: The brush’s bristles can work residue out of surface grooves without scratching, especially if the bugs have been on there for a while.
5. Rinse and Rewash the Bumper
- Tip: After removing all bug and tar spots, give the bumper a thorough rinse. Follow up with another wash using car shampoo and a fresh microfiber towel.
- Why: This step removes any remaining product residue and prepares the surface for a final touch-up if needed.
6. Finish with a Clay Bar (Optional)
- Tip: If you notice any remaining rough spots after washing, use a clay bar to gently lift these particles.
- Why: A clay bar removes embedded contaminants for a smooth finish and helps prep the bumper for a final layer of protection.
How to Protect Your Bumper After Cleaning
Once your bumper is sparkling clean, it’s time to protect it. Adding a layer of wax or sealant creates a barrier that helps repel bugs and tar, making future cleanups easier.
1. Apply a Quality Car Wax or Paint Sealant
- Tip: Waxing your bumper provides a protective layer that helps prevent bugs and tar from bonding to the paint.
- Why: A waxed surface is slicker, so residues are less likely to stick and are easier to remove the next time around.
2. Use a Bug Shield Film (Optional)
- Tip: Clear bug shield films are available that can be applied to your bumper and front-end surfaces. They’re designed to absorb the impact of bug splatter and tar, protecting the paint underneath.
- Why: Bug shields are especially useful for frequent freeway drivers or off-road adventurers who encounter heavy debris.
Common Mistakes to Avoid
Removing bugs and tar can seem straightforward, but some common mistakes could lead to paint damage. Avoid these to keep your bumper looking its best:
- Using Household Cleaners: Household products can strip paint protection and may even damage the paint itself. Stick with automotive bug and tar removers designed for car finishes.
- Scrubbing Too Hard: Bugs and tar are tough, but your car’s paint is tougher—use gentle motions and let the product do the work.
- Ignoring Immediate Cleanup Needs: Don’t let bug splatters and tar spots sit for days. The sooner you remove them, the easier they are to clean.
Conclusion
With the right approach, bug and tar removal doesn’t have to be a painful process. By following these pro tips, you can keep your bumper spotless and protected, ready for any drive through Los Angeles. If you want expert help or advice, reach out to WASH&WHIPS—we’re here to make sure your car always looks as clean and fresh as the day you got it.


